4 Steps for Water Damage Restoration
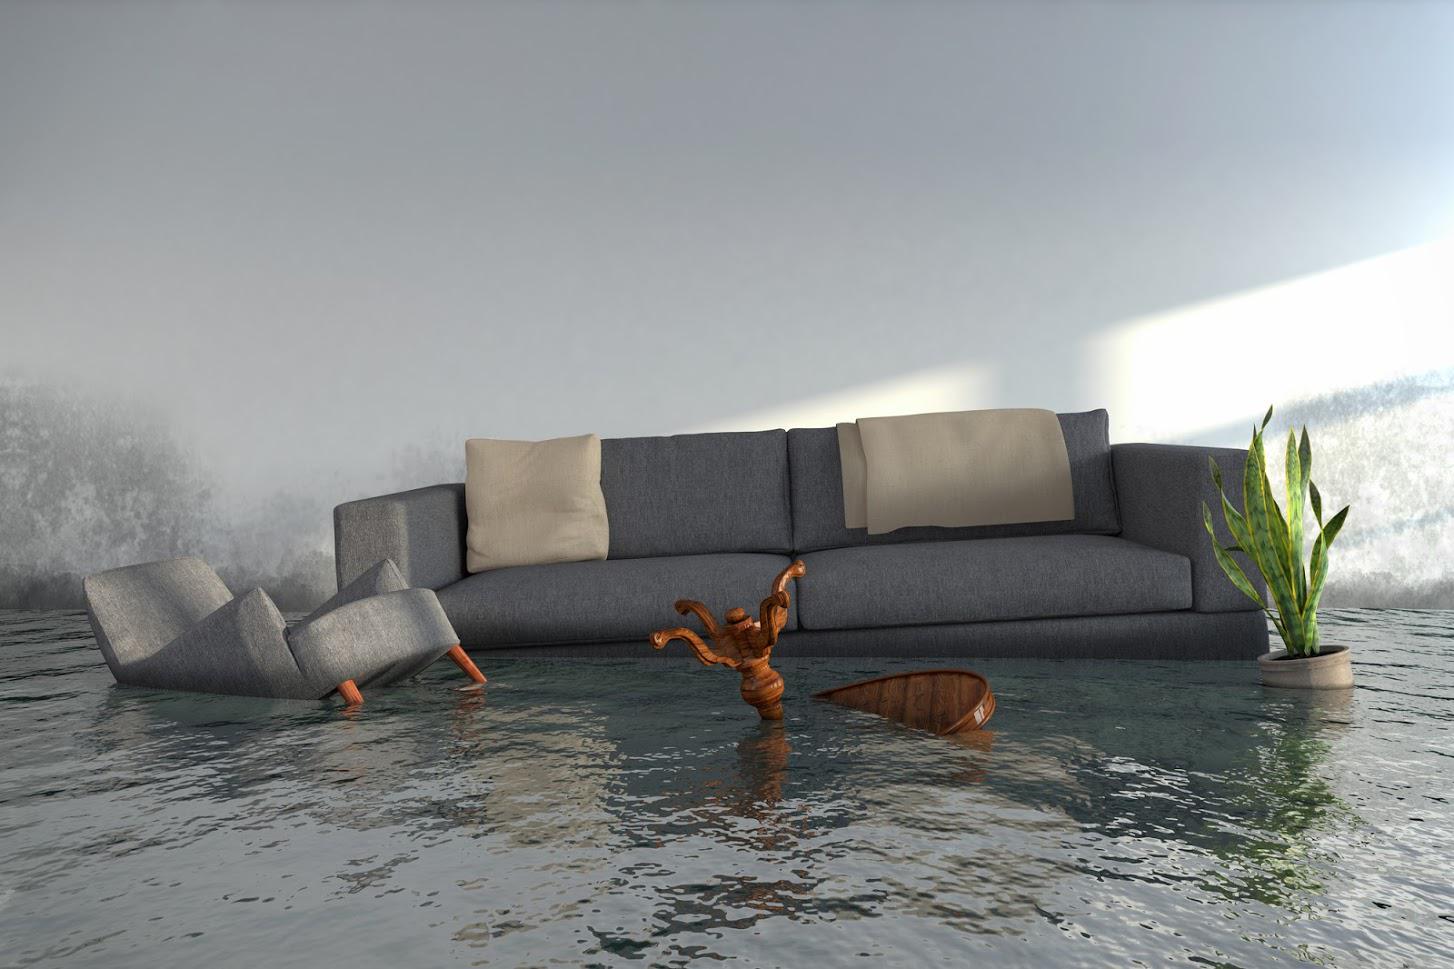
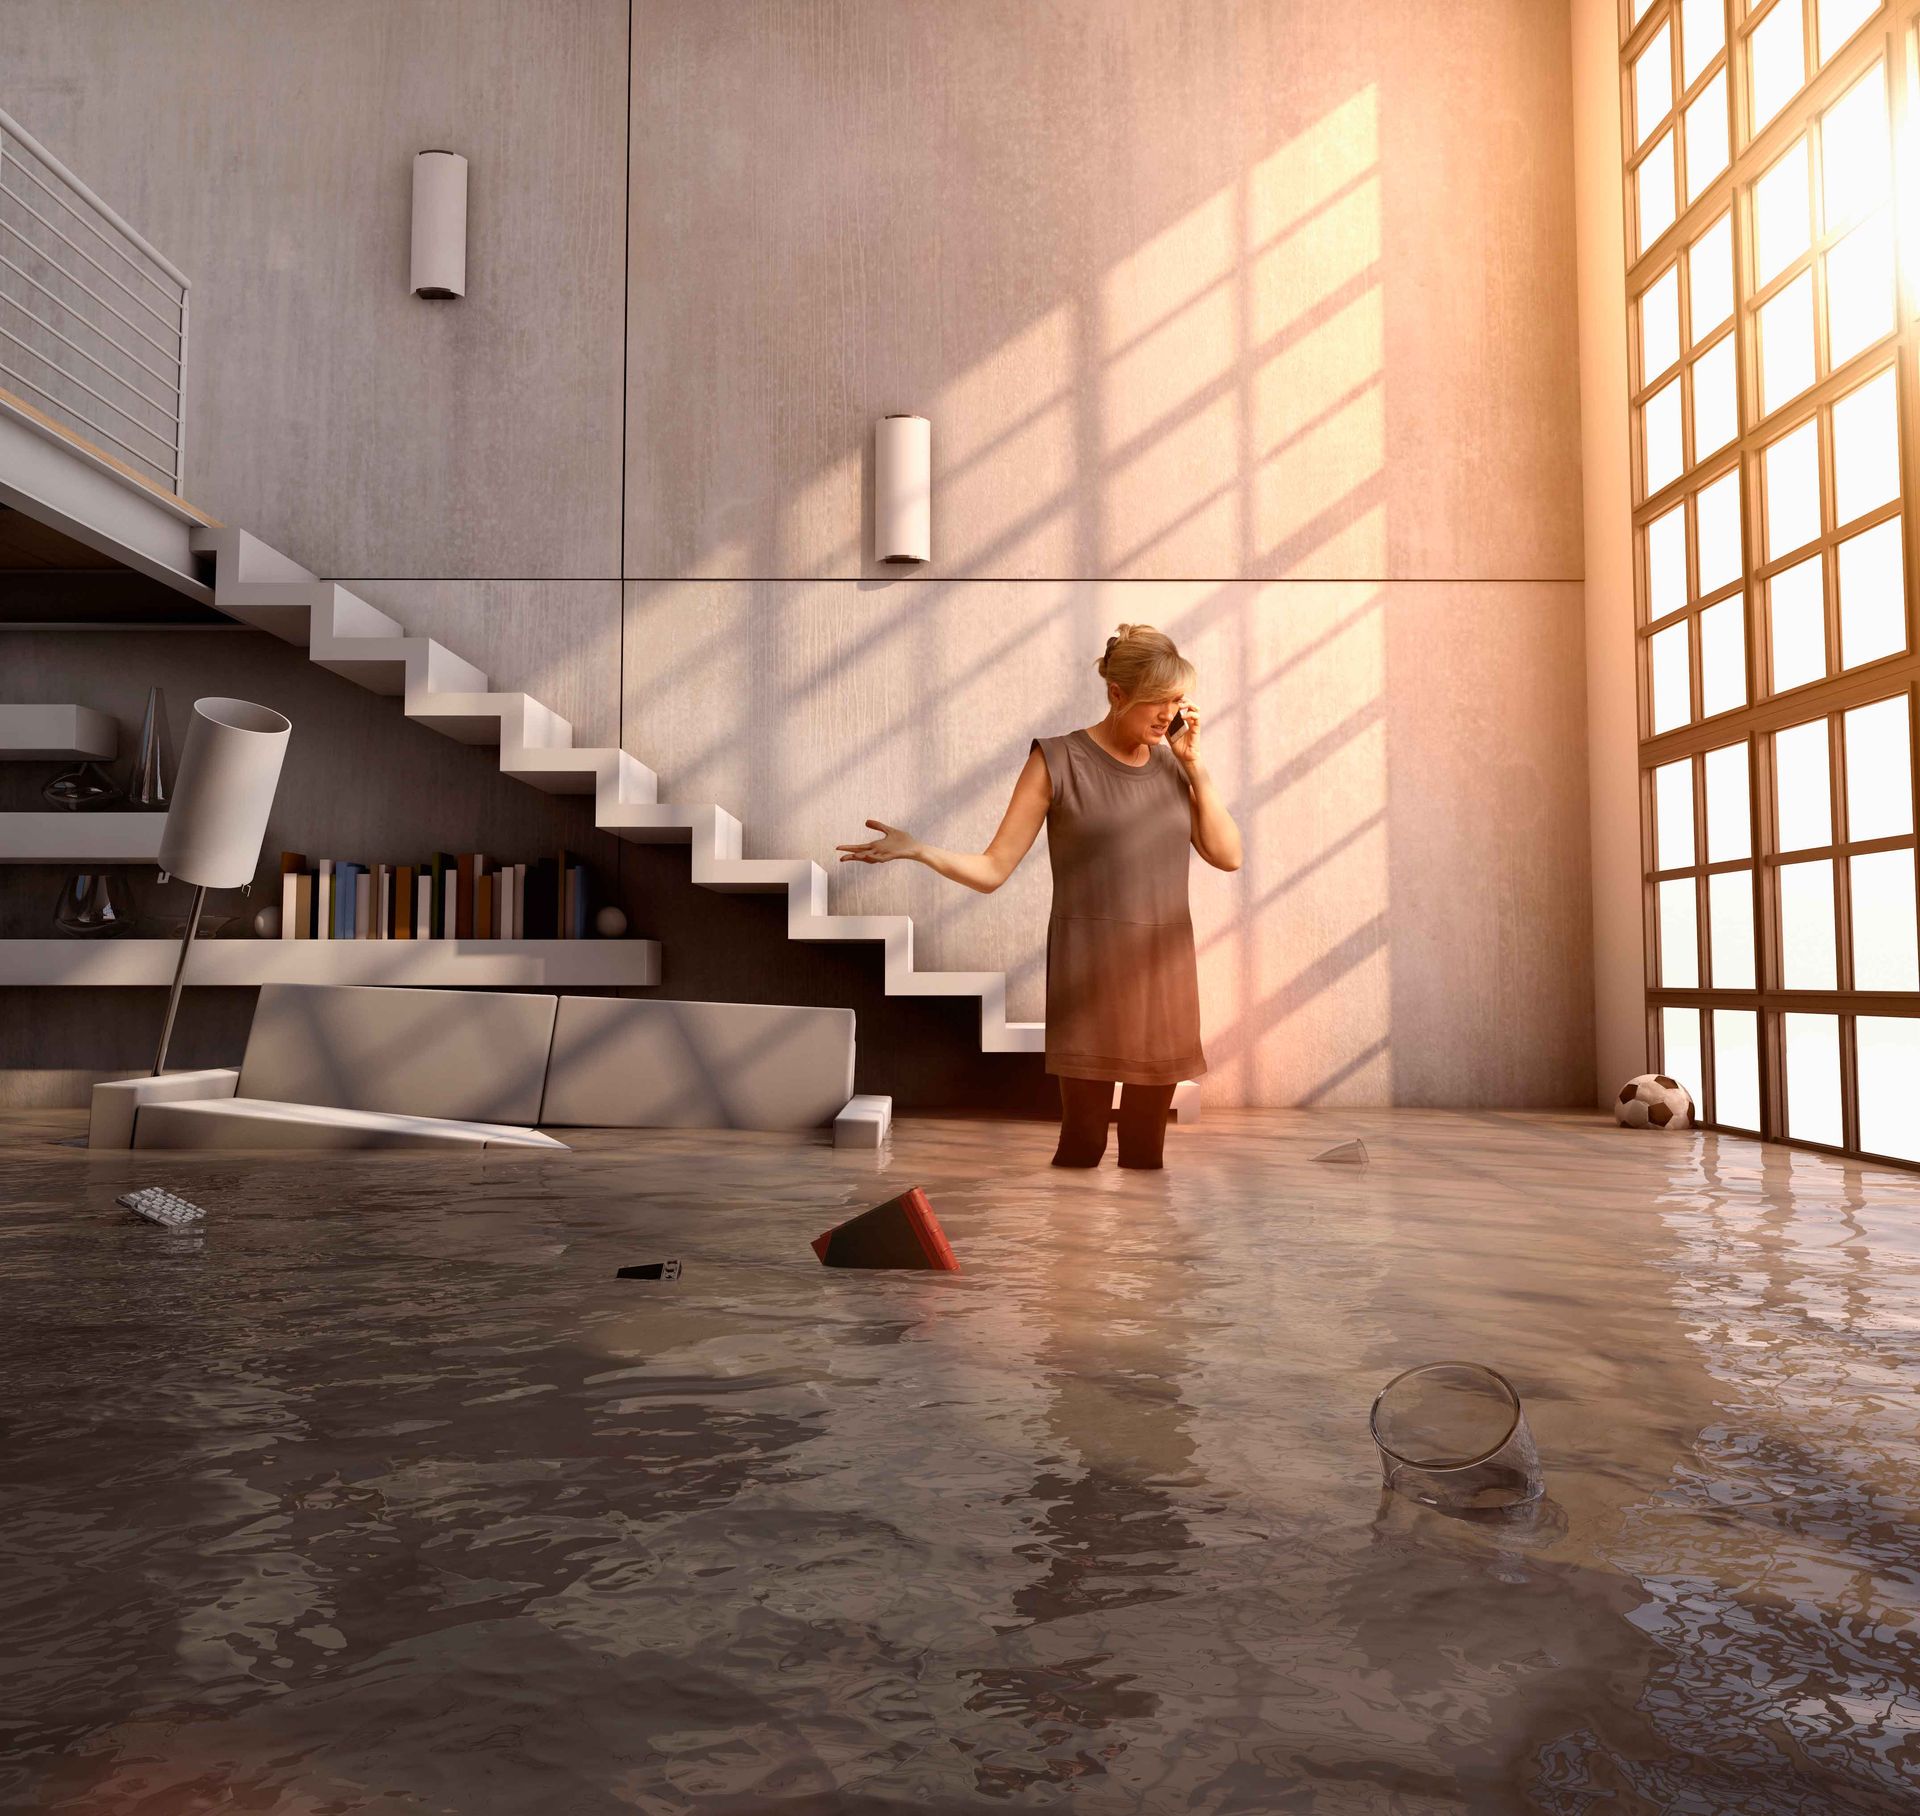
devastating. However, a professional restoration will go to great lengths to assess the damage and get the property back to normal. Here are four steps in the process of repairing and restoring your home or building after water damage.
1. Assess the Damage
The first step in the process is to inspect and assess the extent of the damage. If the damage seems extensive, call for professional water damage restorations services. Every situation is unique, from the property layout to the water damage that occurred. This initial inspection will allow the team of experts to create a realistic plan for restoring your property to its former glory.
A professional water mitigation contractor uses particular tools and measurements to assess the depth of damage, even beyond what can be seen with a visual inspection. They will meticulously cover the entire property, testing floors, baseboards and doorframes, ceilings, and walls to discover how much water has seeped in.
The results of these tests will then be compared to your state's Inspection Cleaning and Restoration Certification dry standards. These standards will help the restoration team develop a plan for how best to proceed.
2. Remove the Water and Prevent Further Damage
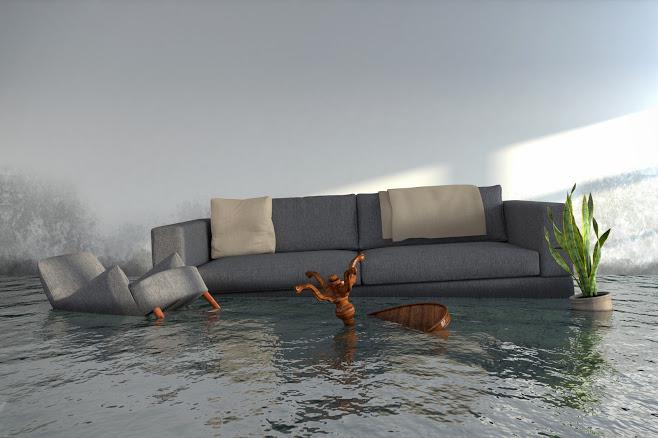
This step is what most people picture when they think of water damage restoration: getting rid of the water. The faster and more efficiently this can happen, the less additional damage occurs as a result of standing water that continues to seep into surfaces over time.
The restoration team will determine exactly which equipment is necessary in your situation. For standing water, large shop vacuums can be used to remove it quickly. For residual wetness and moisture, commercial dehumidifiers will dry surfaces and remove remaining moisture in the air.
Depending on the surfaces of your property, the water removal process will take varying amounts of time and different equipment. This step not only cleans the water that has already caused damage, it also prevents further damage from occurring due to residual moisture.
3. Dry the Affected Space and Containing the Water
After residual water is removed, additional equipment is needed to dry out building surfaces. The team will contain the areas that need to be dried with tape and other barriers to ensure that drying happens as quickly as possible, preventing further damage.
Think of all the different surfaces in a typical home: from carpets and floorboards to grout and drywall, each material will have a different absorbency and thickness. Water damage restoration teams will use specific equipment and containment methods for each surface and room. For example, floor mats can be used to draw water out of the floor while industrial fans can be directed at saturated walls.
In some cases, further measures will need to be taken to ensure unseen water is not left behind. Contractors can drill holes into dry wall to help air it out and remove and replace damaged baseboards and door frames. Your team of professionals will know what specific steps are best for your unique property.
4. Continue to Monitor and Assess
Once the property has been thoroughly dried, the job still requires one additional step. To be certain that no residual moisture is left behind, monitoring of formerly saturated surfaces will continue until the team is satisfied.
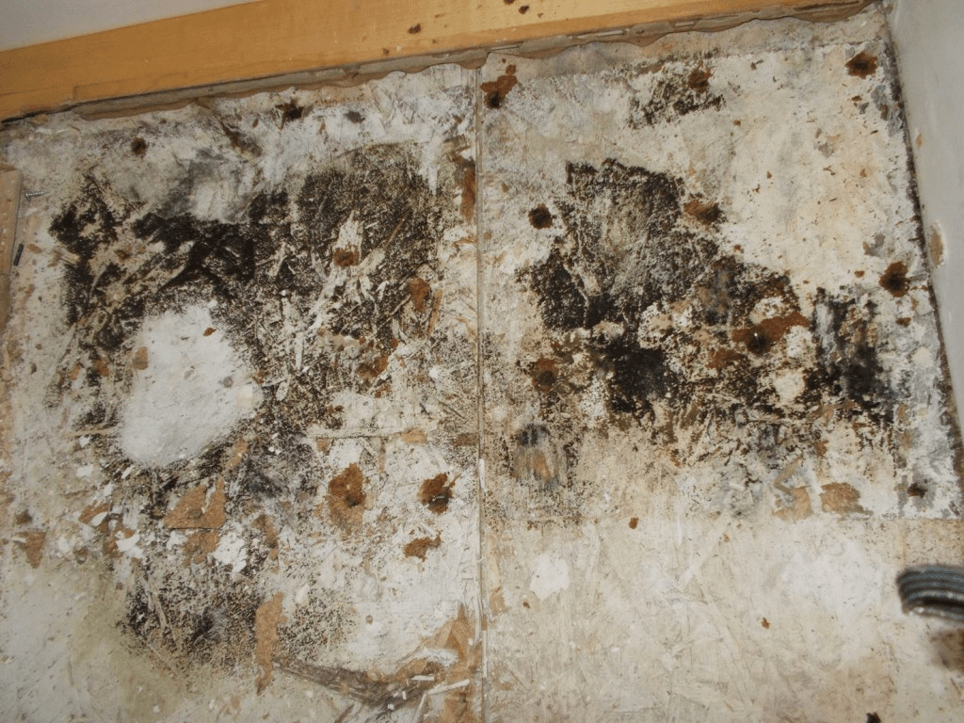
By inspecting the same areas that were originally assessed in step 1, the water damage restoration team can be sure that their job has been completed. Residual moisture is sometimes difficult to detect, and if left untreated can lead to further problems like mold and mildew. Monitoring the drying process and final assessment ensures the quality of the job from start to finish.
For more information on how we can meet your water damage restoration needs, call C&Z Construction today.
Browse Our Website
Contact Information
Email: info@czconstruction.net
Address: 4825 Derry St, Harrisburg PA 17111PAHIC#000204PA Attorney General: 1-800-441-2555
Our Location
Contact Information
Email: info@czconstruction.net
Address: 4825 Derry St, Harrisburg PA 17111PAHIC#000204PA Attorney General: 1-800-441-2555
